


You’ve spent all day working on the production of your next video. You’ve wrapped up and are now doing some editing. You’re confident this will be a breeze because it went so well. Then, you notice the problems.
It’s not uncommon for there to be shots you need to fix after production. Whether it is minor or something significant you likely don’t have to go back and re-shoot unless there is simply too much to fix. Instead, consider a few key ways you can improve those unsuccessful shots to make them work just perfectly.
#1: Improve the Shaking
The most common complaint post-production is the shaking of the video. Even if you have stabilization in place, there are still going to be instances in which you find yourself dealing with a few wobbles or unwanted movements. The good news is you can often improve this. To do so, you’ll want to use a stabilization tool in your editor (and really learn how to use it well). The Warp Stabilization Tool from After Effects and Adobe Premiere is one of the best options. Back down the smoothness setting, which can help to improve the movement. Choose the Perspective or Position, Scale and Rotation settings instead of the Subspace Warp.
#2: Fixing the Sound
If you are using Adobe Creative Cloud, you can improve the sound significantly even when you are fighting a lot of background noise. Adobe Audition is another excellent editing tool for this purpose. You’ll get a lot out of it if you put some time into using it. Some situations may warrant a reshoot, though.
#3: Framing Problems
Another common problem that needs repair after production is framing. You’re main go to settings for making improvements to framing include Position, Scale, Rotation, and Perspective tools. The best way to fix these types of problems, you may need to give up some of the quality resolution of your shot. That’s because you’ll need to scale the image no matter what to fix the framing.
#4: Exposure Problems
It is quite common for filming to warrant re-doing the shoot completely as a result of exposure problems, but that’s not always necessary. You can adjust the exposure and improve it through the Exposure, Contrast, Highlights, Whites, Blacks, and Shadows settings on your editing tool. If the shot is underexposed, you’ll need to adjust most of these settings to get improvement. It’s important to work on all of them to get the look right.
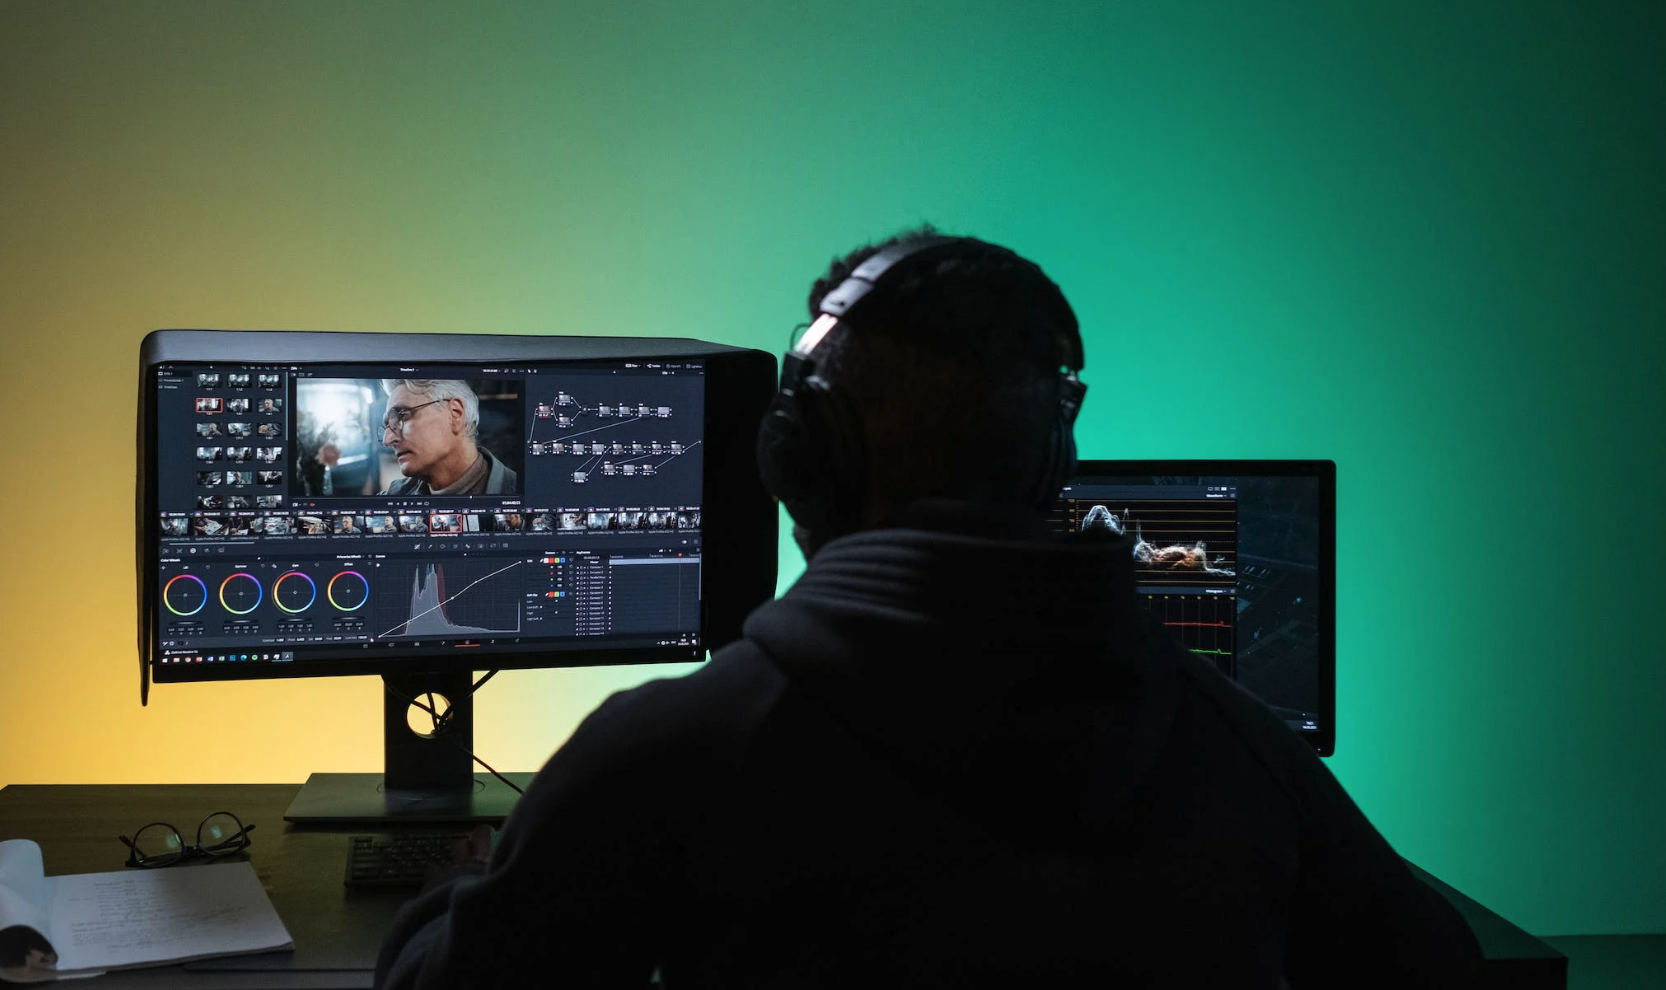
When it comes to finalizing your production, take the time to use a quality editing tool. And, learn as much as you can about the various settings available to you on it. You’ll find there are many types of problems that you simply can improve without having to schedule the dreaded re-shoot. This may take a bit of time, but playing with some of these tools can help you to have the best final production possible and give you the ability to sharpen your skills behind the camera.