


Live videos have taken a big place in the world of content creation in recent years. They bring a fresh air to Digital Marketing, making this type of content more “real” and less overplayed: viewers can see what is happening in the present moment and be closer to you. These videos are present on different platforms, such as Facebook, or even Instagram, where we see a good number of influencers and companies using this tool to make people talk about them, and sometimes even operate a moment of intimacy with their followers, since they can answer some questions while the video is streaming.
Let’s take a look at how to take your pre-recorded content to live videos on Youtube in four steps:
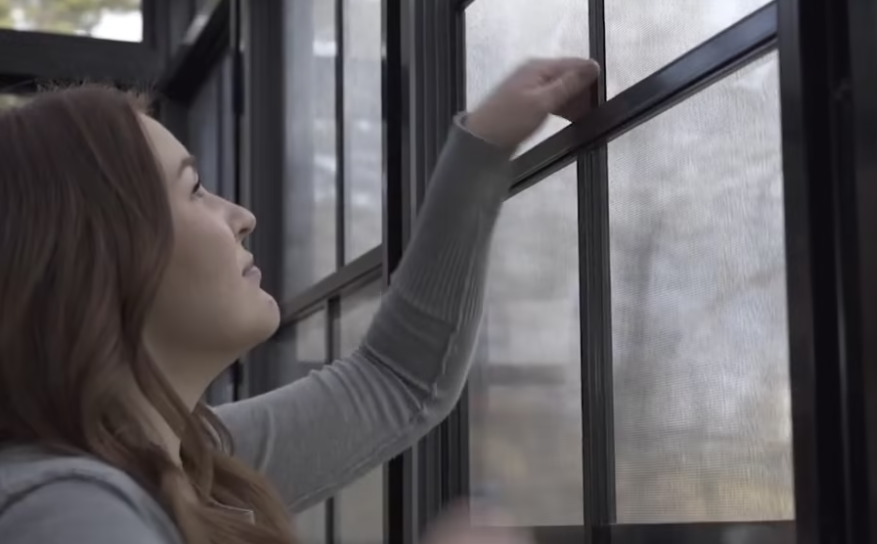
1- Use the right equipment
There are a couple of things to remember before you press the live go button. First, you should know that if you are using your laptop to go live, the built-in camera could work perfectly. However, if you want to ensure that your stream is high quality, with decent auto-focus and auto-exposure features, an external camera made for streaming may be worth looking into. The same is true of recording. There are high-quality microphones recording professional-grade audio, which are easy to set up and not so expensive.
2- Have a script ready before going live
Of course you need to get an idea about what will be the topic of your live video and how long you’re planning to talk, if you will be having guests over or also if you are planning on doing a tour or Q/A. Before you ever start rolling you have to map this idea out. Know when you’re going online, you don’t have many takes anymore. Create as much description as you can for the story you are trying to tell and for the script you’re writing. The other critical thing to remember is a thumbnail formation. YouTube grants producers and content creators the opportunity to make their show “premiere.” As you intend on streaming you can let your viewers know in advance. To do this, create a thumbnail that will appeal to viewers.
3- Prepare for the right settings
If you hit the “Go Live” button on the top right corner, here is what happens next:
From the above image, you can see that you have the option “create a title,” but also an option for when to make it public/schedule it, then you will have to choose the usual back-end info for YouTube. You may add a synopsis, then pick your camera and microphone input to start streaming.
4- Live chat options
Another important setting to choose from is whether to allow the chat or not. This allows the viewers to comment while you stream in real time. It is time to go live now ! Good luck 🙂